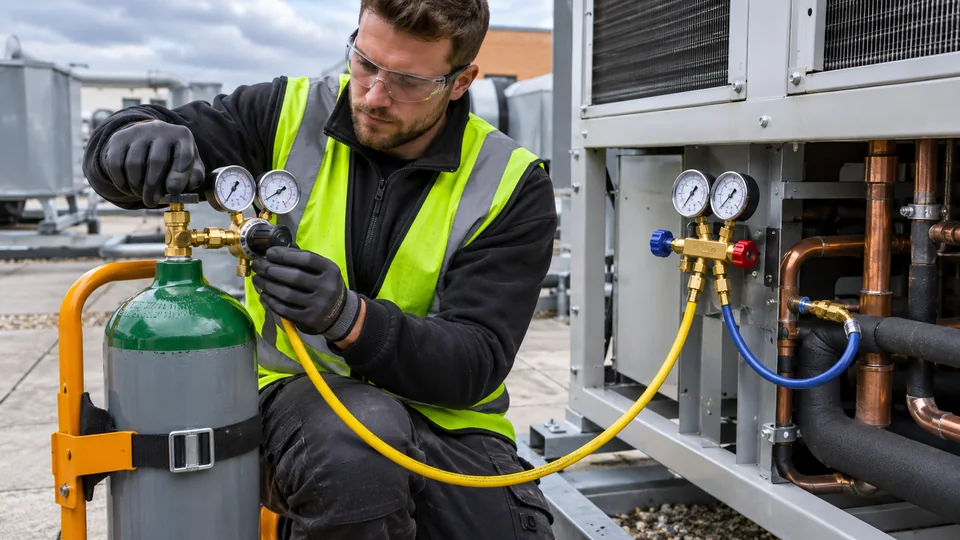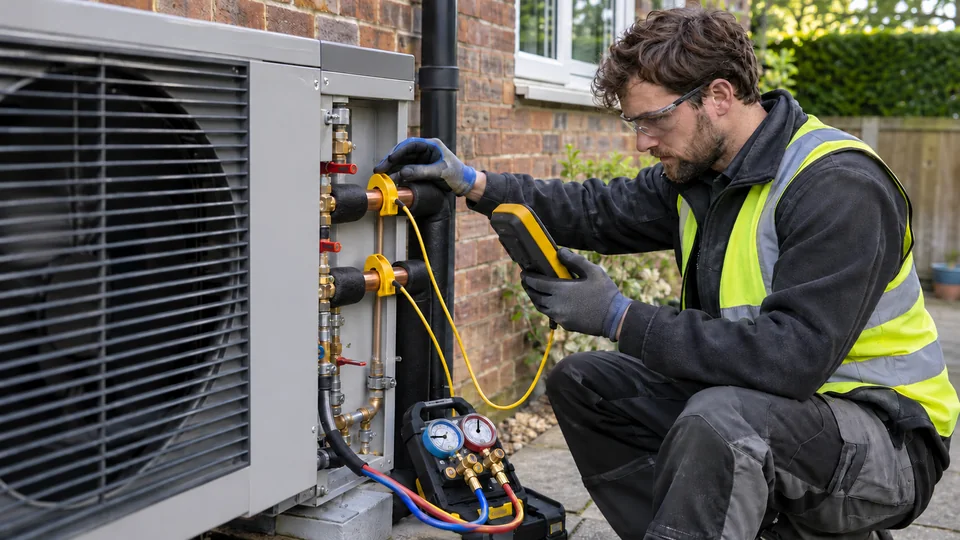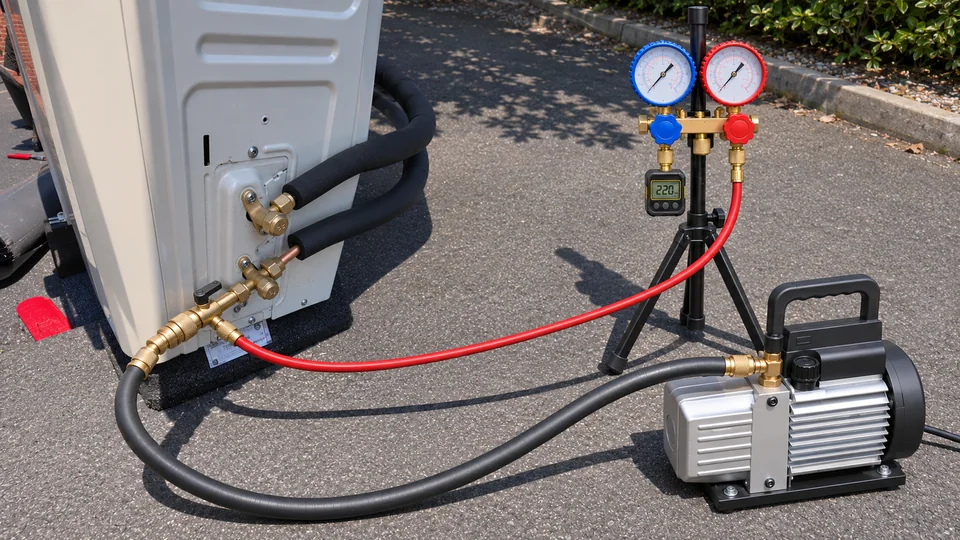
An air conditioning system that will not hold a vacuum may have a leak, but that is not the only explanation. Moisture, outgassing, a contaminated gauge, leaking hoses or poor pump performance can all affect the result. Diagnose the complete evacuation arrangement before deciding that the refrigerant pipework must be leaking.
One vacuum reading cannot prove that every system is leak-free. Use the manufacturer's evacuation and isolation criteria, with the required positive-pressure checks completed separately. The discussion here supports competent diagnosis; it does not supply a universal vacuum target or standing time.
What are you measuring?
A suitable electronic vacuum gauge measures absolute pressure at much finer resolution than the vacuum end of a typical compound manifold gauge. A manifold needle near its stop cannot establish that a deep-vacuum requirement has been met. Check that your instrument, range and condition suit the specified procedure.
Gauge position matters. A reading close to the pump can be lower than the pressure elsewhere in the system during active evacuation. Restrictive hoses, valves and fittings can increase that difference. Follow the approved connection arrangement and understand whether you are measuring the system or mainly the pump side of the setup.
Check the pump before blaming the installation
Pump condition affects performance. Oil contamination, incorrect oil level, a leaking seal or an operating issue can prevent the expected result. Use the pump manufacturer's maintenance and checking instructions, including its guidance on oil and any gas-ballast control.
An appropriate check of the pump and gauge can help separate equipment performance from system behaviour. It is not a substitute for testing the connected arrangement, and reaching a low pressure with very little connected volume does not demonstrate how quickly the pump will evacuate a real circuit. Record what was checked rather than calling every satisfactory pump check proof that the whole setup is sound.
Hoses, seals and service connections
Vacuum leaks often occur in the service apparatus. Worn seals, unsuitable hoses, loose connections and manifold valves can undermine a sound installation. Repeatedly disconnecting and reconnecting without a plan may introduce more contamination and make the evidence harder to interpret.
Inspect the arrangement and verify the suitability of each component. Where core-removal or isolation tools are used, they must be suitable for the refrigerant, pressure and procedure, and used competently. Do not improvise with fittings simply because they physically screw together.
Moisture and outgassing
Water and substances released from internal surfaces can sustain a vacuum rise even where there is no continuous leak to atmosphere. Moisture is particularly relevant where pipework has been left open or contamination has entered during work. A wet system needs an appropriate response under the equipment procedure, rather than an arbitrary extra period on the pump.
The behaviour over time can offer clues. A continuing rise or a rise that slows and levels may suggest different causes, but these patterns are not conclusive diagnoses on their own. System volume, temperature, gauge behaviour and the isolation arrangement influence the trace. Avoid deciding “moisture” solely because that explanation is convenient.
A genuine system leak remains possible
Mechanical joints, valve stems, service ports and damaged pipework can admit air under vacuum. Some seals behave differently depending on pressure direction. A satisfactory vacuum result does not remove the need for appropriate pressure testing and targeted leak checks.
If a leak is suspected, stop and plan the investigation. Follow the relevant procedure for safely changing the system condition before reworking joints or applying a test gas. Never use refrigerant release as a way to clear air, and do not pressurise a circuit with oxygen or compressed air.
Use a diagnostic sequence
Begin with the equipment instructions and your test record. Confirm the circuit is prepared correctly, identify the test boundary and note valve positions. Then establish that the gauge and pump are suitable and behaving as expected. Check service apparatus before changing the installation itself.
Compare readings under the manufacturer's specified isolation arrangement. If the result is unsatisfactory, investigate one likely cause at a time and record what changed. That approach produces evidence; changing the pump, hoses and several joints at once may produce a better number without explaining the problem.
Avoid common shortcuts
Do not assume that more pump running time solves every issue. Do not quote a single target from memory for all equipment, or use a manifold reading as if it were a calibrated deep-vacuum measurement. Do not interpret a brief low reading while pumping as equivalent to a satisfactory standing test.
Also consider whether the circuit was kept clean and sealed during installation. Good preparation reduces the need to solve contamination problems later. Evacuation should confirm a properly prepared system, not compensate for careless pipework storage and assembly.
Connect the result to commissioning
Keep the evacuation record with the commissioning documentation, including relevant conditions and the procedure used. If performance remains poor later, those records help distinguish installation history from a new fault. Systematic heat pump diagnosis uses the same principle: gather evidence before choosing a repair.
For equipment-specific examples, consult the leak-test and vacuum-drying sections of the Daikin split installer reference guide. Use your actual model's manual for the job. F-Gas 1's one-to-one coaching can help qualified engineers practise equipment checks and interpretation.